Your garbage disposal doesn’t exactly scream ‘glamorous kitchen feature.’ It doesn’t sparkle like your benchtops or hum like your shiny new fridge.
But it chews through scraps without complaint, washing away smells and saving you from fishing mushy food out of the sink with your bare hands. Without it, scraps will pile up, smells will linger, and your sink may start looking like a swamp.
Thankfully, looking after it isn’t rocket science. Just a few small habits will keep your unit clean, fresh, and working like a charm. Stick around, because we’re about to show you how.
Use Cold Water
When you switch on your garbage disposal, always run cold water with it. Cold water helps fats and food bits firm up just enough so the blades can chop them down properly before everything gets washed away.
Hot water, on the other hand, just melts grease and sends it slinking further down your pipes. Eventually, the fat hardens and creates the kind of clog that makes you wish you’d never cooked bacon in the first place.
So, let the cold water flow for 10 to 20 seconds before you flick the switch, keep it going while the disposal works, and leave it on a little longer afterwards to flush down everything.
It’s a tiny habit that takes almost no effort but will save you from plumbing disasters later.
Grind Citrus Peels
Now, let’s talk about keeping things smelling fresh. Because as much as your garbage disposal works hard, it doesn’t always smell like roses.
Do you have leftover lemons from your tea or orange peels from lunch? Don’t toss them in the bin just yet. Chop the citrus peels, drop them into your disposal, and let the blades tear through them.
The natural oils released from the peels will coat the unit’s internal parts and neutralise odours like a charm.
The scent is crisp, clean, and infinitely more pleasant than last night’s garlic and onion mix. Even better, this will help you reduce waste in your kitchen by finding a second use for your scraps.
Trust us, once you’ve tried this trick, you’ll probably start hoarding citrus peels.
Use Bicarb and Vinegar
Citrus peels are brilliant for everyday freshness, but every now and then, you need to deep clean your disposal. The easiest way? A little science experiment with baking soda and vinegar.
Pour half a cup of baking soda into the unit and let it sit there for a minute or two to settle in.
Then, follow it with half a cup of white vinegar and let the bubbling begin. You will probably hear a bit of hissing and popping, and that’s it doing exactly what it should. This reaction will loosen built-up grime and clear away grease tucked into the corners.
Give it ten to fifteen minutes to break everything down before you rinse it through with cold water.
Make it part of your monthly routine and you’ll cut down on smells, keep your unit running smoothly, and save yourself a bit of cash on store-bought cleaners.
Plus, you’ve probably already got both ingredients sitting in the cupboard, which means you can do it right now without adding anything to your shopping list.
Keep Hard or Fibrous Scraps Out
So, your disposal is clean, fresh, and fizzed to perfection. The next step is just as important: being picky about what goes down there in the first place.
Your unit might be tough, but it’s not invincible. Bones, eggshells, fibrous veg like celery, corn husks, and pumpkin skin all spell trouble.
They can get tangled up in the blades, wear out the motor, or clog the pipes in ways you won’t notice until your sink is backing up mid-dinner prep. Even coffee grounds, while small, can clump together and create a sludgy build-up.
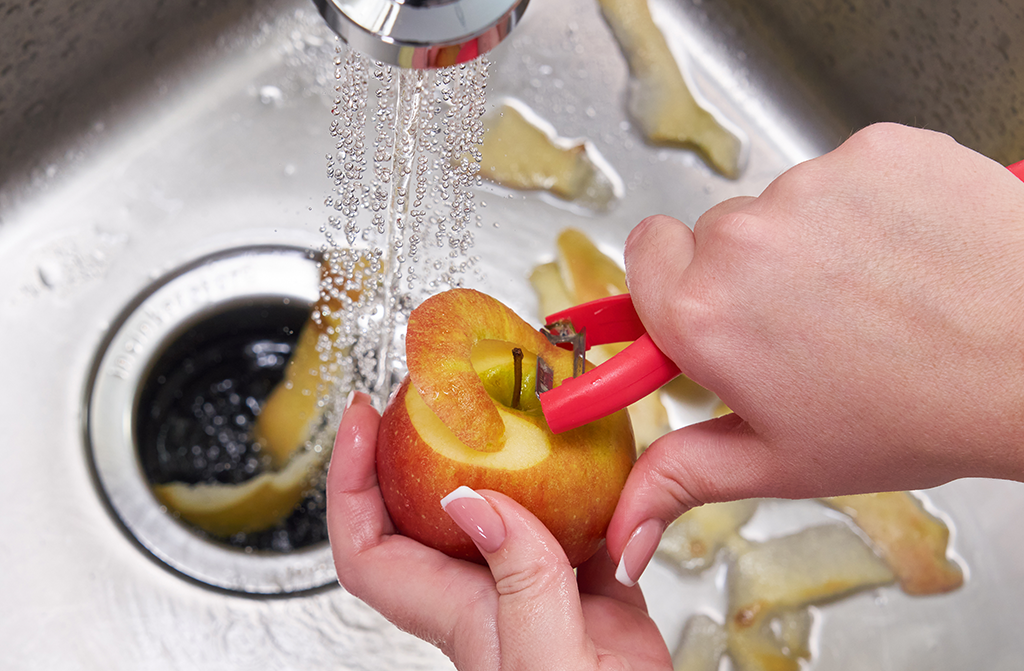
The fix is simple. Only dump soft scraps, like cooked veggies, fruit offcuts, or bits of rice. If you’re dealing with anything more challenging, chuck it in the bin or compost it. This will reduce your impact on the environment and prevent those late-night panic calls to a plumber.
You can also make a quick list of no-go items and pop it on the fridge or a cupboard door as a daily reminder.
Clean the Splash Guard
Even if you’re careful about what goes down your disposal, the splash guard is one sneaky culprit that often gets overlooked. Those rubber flaps might look harmless, but they love to trap food particles.
If you leave them unchecked, you’ll start noticing bad smells that no amount of citrus peels can hide.
Luckily, cleaning them can’t be simpler. Every couple of weeks, grab an old toothbrush, some warm water, and a squirt of dishwashing liquid.
Lift the guard slightly and give it a good scrub inside and out, making sure you get into all those folds and creases where bits tend to build up. You’ll probably be surprised by what comes out, even if the rest of the unit looks spotless.
This will only take a few minutes, but it’ll stop your sink from smelling like something crawled in and never came back out.
Sharpen the Blades With Ice Cubes
Now, we have one last trick that sounds odd, but professional cleaners recommend it, and it absolutely works. Toss a few ice cubes into the disposal and let it run for half a minute.
The noise will be loud, but don’t worry; the ice won’t damage your unit. It will just scrape off stuck bits of food, polish the blades, and even help sharpen them up as it crashes around.
Want to take it up a notch? Finish things off with a quick flush of cold water and a wedge of lemon for that extra clean scent.
Just give it a go once a month, and you’ll squeeze more years out of your unit without needing any gadgets or special products. Better yet, over time, you’ll notice fewer smells and fewer blockages.
Conclusion
Don’t wait for that dreaded clog or stench to hit before you act. With our tips, you won’t have to deal with that horrid gurgling sound or wonder if last night’s leftovers are building a colony in your pipes.
So, give them a go today. Your disposal will hum along happily every time you flip that switch.